Introduction:

Image: www.consolidatedautoservices.com
Owning a vehicle is a significant investment, and encountering a salvage title can be both confusing and disheartening. A salvage title indicates that your car has been declared a total loss by an insurance company. However, it doesn’t necessarily mean your vehicle is beyond repair or unworthy of a second chance. Understanding and fixing a salvage title can restore the value of your car and get you back on the road. This comprehensive guide will empower you with the knowledge and insights to navigate this process effectively.
What is a Salvage Title?
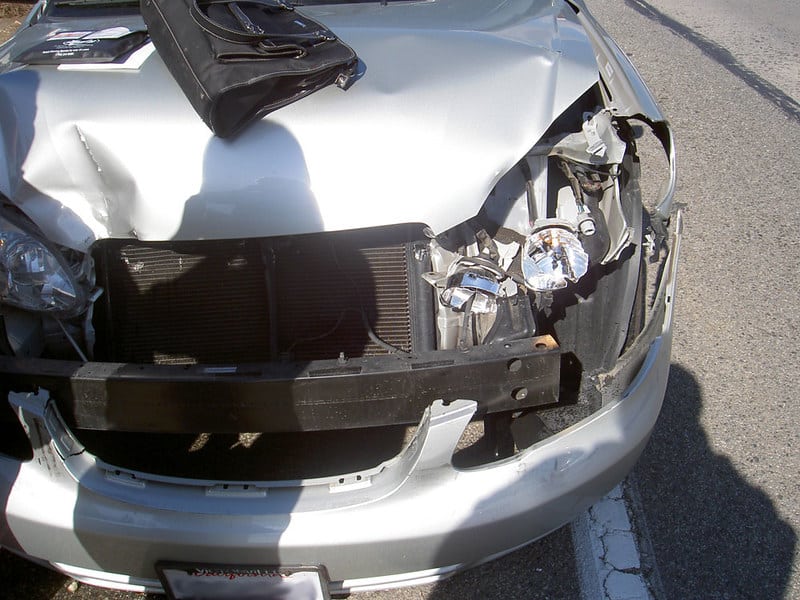
A salvage title is assigned to a vehicle that has been damaged so severely that an insurance company declares it a “total loss.” The damage could have been caused by an accident, natural disaster, vandalism, or theft. When a vehicle is considered a total loss, the insurance company pays the owner the vehicle’s pre-damage value minus the salvage value. The vehicle is then branded with a salvage title, which remains on the title forever.
Fixing a Salvage Title
Fixing a salvage title involves repairing the vehicle to a roadworthy condition and obtaining a new title. Here’s a step-by-step guide on how to approach this process:
1. Assess the Damage:
Thoroughly inspect the vehicle to determine the extent of the damage. Review the insurance claim report and consult with a mechanic to identify all necessary repairs. This comprehensive assessment will provide the foundation for your repair plan.
2. Acquire the Necessary Parts:
Identify the specific parts needed to restore your vehicle to its pre-damaged condition. Explore various options for sourcing these parts, including junkyards, online retailers, and original equipment manufacturers (OEMs). Compare prices and availability to find the best deals.
3. Repair the Vehicle:
Based on your assessment and acquired parts, commence the repair process. It’s highly recommended to entrust this task to a licensed and experienced mechanic or body shop. Ensure that all repairs meet the safety standards established by the manufacturer and your local motor vehicle department.
4. Document the Repairs:
Keep detailed records of every repair, including receipts, invoices, and photos. This documentation will be crucial when applying for a new title. It serves as evidence of the work performed and the vehicle’s restored condition.
5. Pass a Safety Inspection:
Once the repairs are complete, schedule a safety inspection with your local motor vehicle department. This inspection verifies that your vehicle meets all safety requirements and is roadworthy. If the vehicle passes the inspection, you will be issued a certificate of compliance.
6. Apply for a New Title:
With the safety inspection certificate in hand, you can apply for a new title. Visit your local motor vehicle department and submit the necessary documents, which typically include the old title, salvage title, and proof of repairs.
7. Obtain a New Title:
Upon reviewing your application and documentation, the motor vehicle department will issue a new title with a “rebuilt” or “restored” brand. This new title will supersede the salvage title and indicate that your vehicle has been repaired and is legally roadworthy.
Conclusion:
Fixing a salvage title can be a complex and time-consuming process, but it can restore the value of your vehicle and provide peace of mind. By understanding the steps involved and having realistic expectations, you can navigate this process successfully. Remember to document every step and consult with experts along the way to ensure a safe and compliant outcome.

Image: mwg.aaa.com
How To Fix Salvage Title


