Plexiglass, also known as acrylic, is a versatile and durable material used in various applications, including windows, furniture, and signage. However, like any material, it can be susceptible to cracking due to impact, stress, or aging. If you find yourself with a cracked piece of plexiglass, don’t despair; there are effective methods to repair it and restore its functionality. In this comprehensive guide, we will delve into the causes of plexiglass cracking and provide step-by-step instructions on how to fix it.

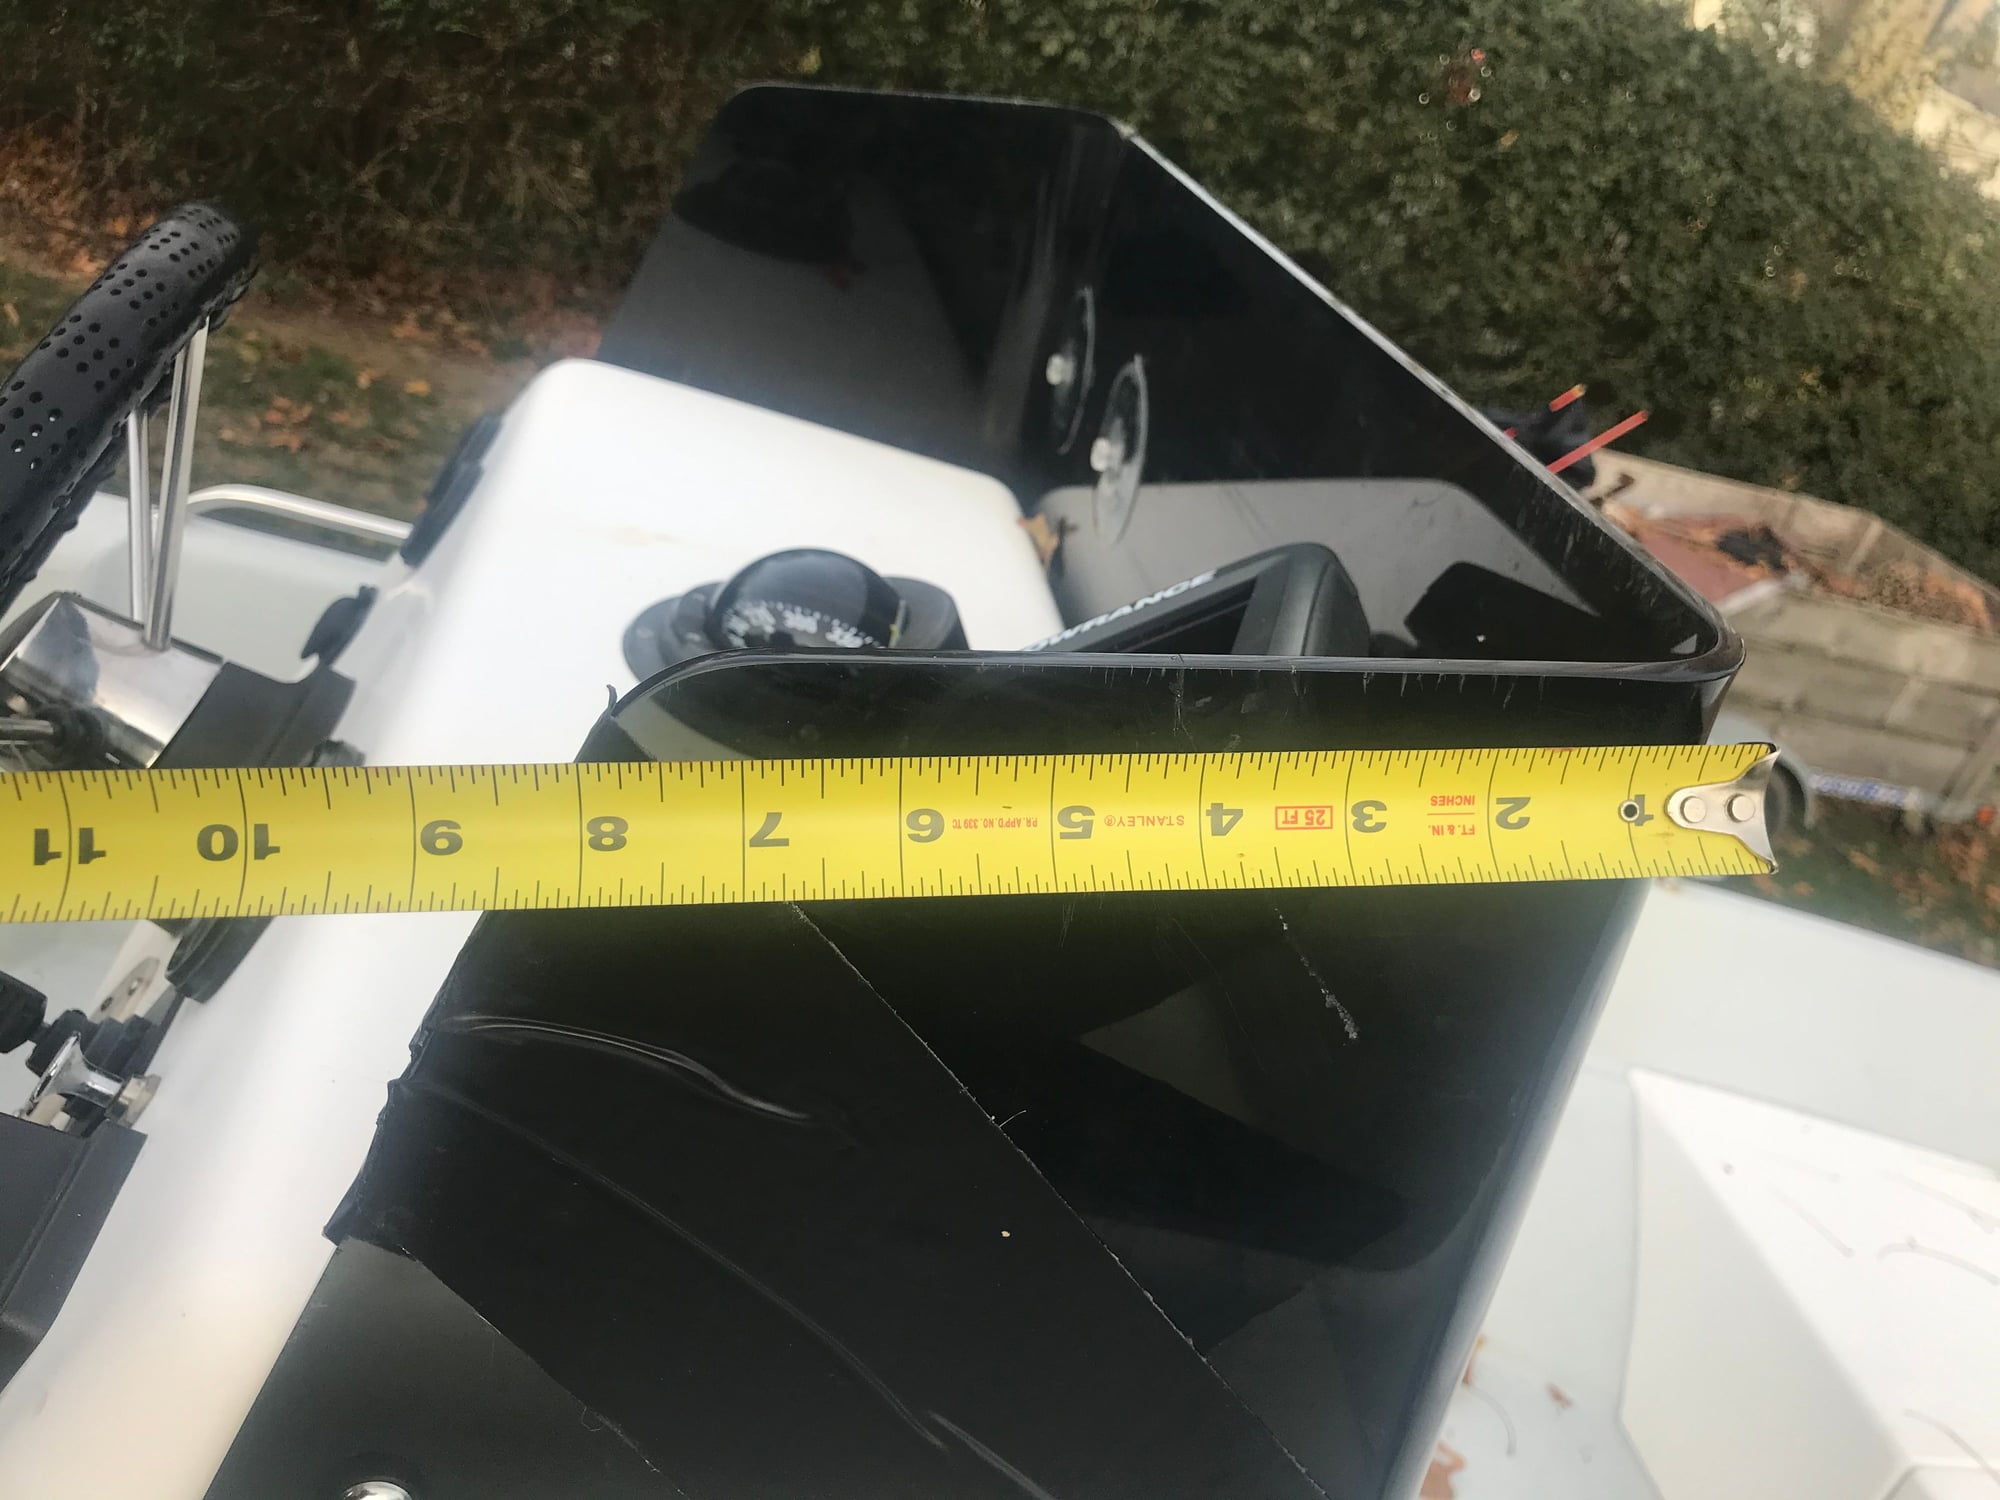
Image: www.thehulltruth.com
Understanding the Causes of Plexiglass Cracking
Before we dive into the repair techniques, it’s essential to understand the reasons behind plexiglass cracking:
-
Impact:
Physical impact, such as a blow or collision, is a common cause of cracking. When plexiglass is subjected to a sudden force, it can exceed its承受强度and result in a fracture.
-
Stress:
Even without direct impact, sustained stress can lead to plexiglass cracking. Constant pressure, whether from clamps, weights, or thermal expansion, can cause internal stresses to build up and eventually weaken the material.
-

Image: www.rimemos.comAging:
Like many materials, plexiglass can degrade over time due to prolonged exposure to sunlight, heat, and other environmental factors. This degradation can make it more brittle and prone to cracking.
Step-by-Step Guide to Fixing Cracked Plexiglass
Now that we have identified the potential causes of plexiglass cracking, let’s explore the techniques you can employ to repair it:
Method 1: Plastic Welding
This method is ideal for repairing small cracks and holes in plexiglass. It involves using a plastic welder, which melts the edges of the crack and fuses them together. Here are the steps:
-
Clean the Crack:
Before welding, thoroughly clean the crack area with a solvent to remove any dirt or debris. Use a soft cloth to prevent scratching.
-
Prepare the Plastic Welder:
Insert the appropriate welding rod into the welder and set the temperature according to the manufacturer’s instructions.
-
Weld the Crack:
Gently press the heated welding tip along the length of the crack, melting the edges. Apply even pressure to ensure proper fusion.
-
Smooth the Surface:
After welding, allow the area to cool and use a sharp knife or file to smooth out the weld seam.
Method 2: Epoxy Adhesive
For larger cracks or in cases where plastic welding is not feasible, epoxy adhesive provides a strong and durable repair. Here’s how to use it:
-
Clean and Dry:
Clean the crack area thoroughly and ensure it’s dry before applying the epoxy.
-
Prepare the Epoxy:
Mix equal amounts of epoxy resin and hardener according to the manufacturer’s instructions.
-
Apply the Epoxy:
Apply the mixed epoxy to the crack using a toothpick or applicator. Fill the crack completely and smooth it out using a plastic spatula.
-
Clamp and Cure:
Use clamps or weights to hold the cracked pieces together while the epoxy cures. Allow it to fully harden according to the specified curing time.
Method 3: Polycarbonate Sheeting
If the crack is too extensive or affects the structural integrity of the plexiglass, you can replace the damaged area with polycarbonate sheeting. Here’s how:
-
Cut Polycarbonate:
Cut a piece of polycarbonate sheeting to the size of the damaged area. Ensure that it overlaps the crack by at least 1 inch on all sides.
-
Clean Surfaces:
Clean the edges of the plexiglass and the polycarbonate sheeting with a solvent to remove any impurities.
-
Apply Adhesive:
Apply a strong adhesive, such as silicone or polyurethane, to the edges of the polycarbonate sheet and the surface of the plexiglass.
-
Position and Clamp:
Carefully position the polycarbonate sheet over the crack and press it down to ensure proper adhesion. Use clamps to hold it in place.
-
Remove Clamps and Seal:
Once the adhesive has set according to the manufacturer’s instructions, remove the clamps and apply a sealant around the edges to provide additional protection.
Tips for Successful Plexiglass Repair
-
Use the Right Adhesive:
Choose an adhesive specifically designed for plexiglass repair and follow the manufacturer’s instructions carefully.
-
Apply Sufficient Pressure:
When clamping or weighting down the repair area, apply sufficient pressure to ensure a strong bond.
-
Avoid Overtightening:
Do not overtighten clamps as this can cause further damage to the plexiglass.
-
Allow Proper Curing Time:
Allow the adhesive or epoxy to cure completely before removing clamps or handling the repaired piece.
-
Test Before Use:
Once the repair is complete, test the strength of the bond before putting the plexiglass back into service.
How To Fix Cracked Plexiglass
Conclusion
Repairing a cracked plexiglass piece is not as daunting as it may seem. By following the methods outlined in this guide and adhering to the suggested tips, you can effectively restore the integrity and functionality of your plexiglass item. Remember to handle it with care to prevent future damage. Whether you opt for plastic welding, epoxy adhesive, or polycarbonate sheeting, the techniques described will empower you to achieve successful plexiglass repairs.


