
Imagine stepping into the tranquility of your bathroom only to be greeted by the dreaded sight of a listless toilet chain, rendering your porcelain throne unusable. Don’t despair; help is here in the form of this comprehensive guide that will empower you with the knowledge to fix a toilet chain and restore order to your bathroom sanctuary.
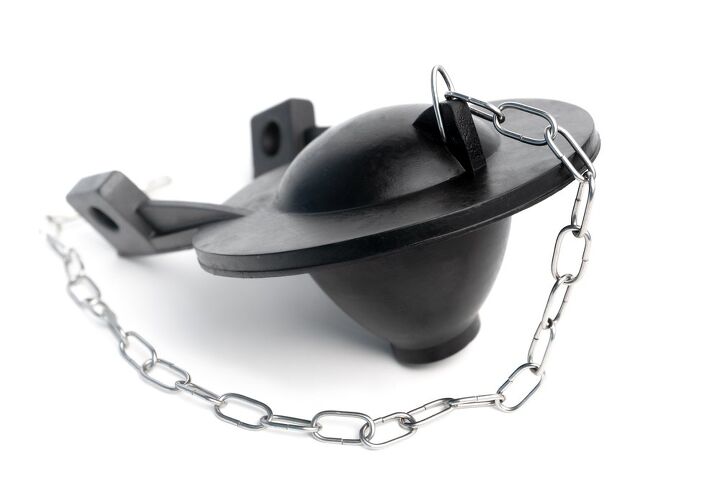
Image: upgradedhome.com
Toilet chains, like trusty sidekicks, are an integral part of our daily flushing routine. But when they break or malfunction, they can turn the simple act of flushing into a frustrating ordeal. Whether it’s a loose connection, a tangled mess, or a broken chain altogether, there’s no need to call a plumber. With the right tools and a little DIY know-how, you can tackle this repair job like a seasoned pro.
Step 1: The Toolkit for Toilet Chain Triumph
Before embarking on this toilet-taming adventure, ensure you have the essential tools at your disposal:
- Adjustable wrench: A versatile companion for tightening or loosening nuts and bolts.
- Pliers: A precision instrument for gripping and twisting, perfect for unjamming chain links.
- New toilet chain (if needed): An indispensable replacement if your chain has breathed its last.
Step 2: Shut Off the Water Supply
Safety first! Locate the water supply valve behind the toilet and turn it clockwise to shut off the water flow. This will prevent any unexpected soakings during your repairs.
Step 3: Identify the Culprit
Inspect the chain and handle mechanism. Is the chain detached, tangled, or stretched? Is the handle loose or wobbly? Pinpoint the source of the problem to effectively address it.
Image: www.youtube.com
Step 4: Handle with Care
If the issue lies with the handle, tighten any loose screws or nuts using the adjustable wrench. If the handle is too loose, remove the cap and tighten the nut beneath it.
Step 5: Unraveling the Chain Enigma
If the chain is tangled, gently untangle it and reattach it to the flush valve arm. If it’s too long or short, adjust its length by unhooking it from the handle and moving the hook up or down.
Step 6: Chain Replacement – The Final Flush
In the unfortunate event that your chain has met its demise, it’s time for a replacement. Unhook the old chain from the handle and flush valve arm. Connect the new chain to the handle and then to the flush valve arm, ensuring it’s the appropriate length.
Step 7: Putting It All Back Together
Once the new chain is in place, reattach the handle and tighten any screws or nuts. Double-check that the chain has the right amount of slack without being too loose or taut.
Step 8: Flushing Success – Your Triumphant Finale
Turn the water supply back on and give your newly repaired toilet a test flush. If all goes according to plan, you should be greeted with the satisfying sound of a forceful flush and a pristine porcelain bowl.
How To Fix Chain On Toilet
Expert Insights: The Secrets to Long-Lasting Flushers
- 定期更换: Replace your toilet chain every few years to prevent breaks or malfunctions.
- Gentle Flush: Avoid slamming the handle down, as this can put unnecessary strain on the chain.
- Preventative Measures: Regularly check the chain for signs of wear or tangles, and take prompt action if you notice any issues.
Remember, fixing a toilet chain is not rocket science. With the right tools, a steady hand, and these expert insights, you can restore your toilet to pristine flushing glory. The next time your chain acts up, don’t let it flush your patience down the drain. Follow these steps, embrace your inner DIYer, and regain control of your bathroom sanctuary.


