
When it comes to flooring, linoleum stands out for its durability and versatility. However, even the sturdiest of floors can face the occasional mishap or wear and tear. Fret not! With a proactive approach and the right techniques, you can restore your linoleum floor to its former glory. This comprehensive guide will walk you through the intricacies of repairing linoleum, empowering you to tackle those pesky scratches, wrinkles, and tears with confidence.
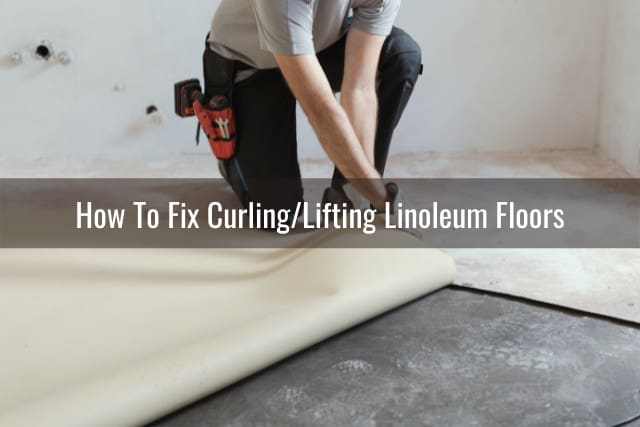
Image: readytodiy.com
Understanding the Nature of Linoleum
Before delving into repair techniques, let’s unravel the unique characteristics of linoleum. Made from linseed oil, cork dust, wood flour, and pigments, linoleum is an eco-friendly and resilient flooring option. Its composition contributes to its resistance to water damage, making it a popular choice for both residential and commercial properties.
Types of Linoleum Damage and Their Causes
To effectively repair linoleum flooring, it’s essential to identify the type of damage and its underlying cause. Here are the most common issues and their culprits:
-
Scratches:
These unsightly marks can occur due to furniture dragging, sharp objects, or pet claws.
-

Image: readytodiy.comDents:
Heavy objects, furniture, or high heels can leave dents on your linoleum floor.
-
Cuts:
Sharp objects or accidents can cause cuts or tears in the linoleum.
-
Wrinkles:
Improper installation or moisture buildup can lead to unsightly wrinkles or buckling.
-
Cracks:
Age, temperature fluctuations, or improper installation can cause cracks to develop.
-
Burns:
Cigarette burns or heat exposure can leave unsightly marks on linoleum floors.
Repairing Linoleum Floor Damage: A Step-by-Step Guide
-
Gather Your Arsenal:
Before embarking on your repair mission, gather the necessary tools. You’ll need rubbing alcohol or denatured alcohol, a clean rag, fine-grit sandpaper, a putty knife, a heat gun, and a linoleum repair kit.
-
Clean and Prepare the Area:
Before addressing the damage, ensure the area is clean. Use rubbing alcohol or denatured alcohol and a rag to wipe away any dirt or debris. Allow the area to dry thoroughly.
-
Minor Scratches and Dents:
For shallow scratches, gently rub fine-grit sandpaper in the direction of the grain. Wipe away any residue and apply a small amount of linoleum repair filler if necessary. For dents, try using a heat gun to warm the affected area gently. Once pliable, use a putty knife to smooth out the dent.
-
Cuts and Tears:
If you encounter cuts or tears, reach for your linoleum repair kit. Follow the manufacturer’s instructions to fill and seal the damaged area. Ensure the repair area is level and smooth.
-
Wrinkles:
Wrinkles or buckling require a more delicate approach. Use a sharp utility knife to make small slits in the center of the wrinkle. Apply a small amount of linoleum adhesive to the slits and press down firmly. Use a rolling pin or heavy object to flatten the area.
-
Cracks:
Repairing cracks requires a more substantial approach. Clean the crack and apply a thin layer of linoleum adhesive. Press a piece of linoleum repair tape over the crack and smooth out any air bubbles.
-
How To Fix Linoleum Floor
Burns:
Unfortunately, burns can be more challenging to repair. You may need to replace the damaged section with a new piece of linoleum. Consult a professional flooring installer for guidance.


