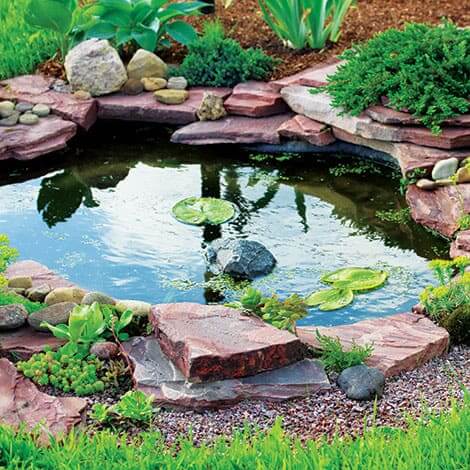
The gentle murmur of water cascading into a pond creates a serene atmosphere, adding beauty to any outdoor space. But when a leak develops, it can disrupt this tranquil scene, causing frustration and requiring prompt attention. This comprehensive guide will provide you with a step-by-step process to identify the source of the leak, determine the appropriate repair method, and execute it effectively, restoring your pond to its pristine condition.

Image: www.pinterest.com
Identifying the Leak Location
Before attempting any repairs, it is crucial to pinpoint the source of the leak accurately. Employ a systematic approach, starting with the most obvious potential leak points:
-
Water Intake: Check the connection between the pump and the intake pipe. Ensure it is secure and free of any cracks or holes.
-
Pump: Inspect the pump itself for any leaks. Look for cracks, loose seals, or damaged cords.
-
Filter System: Follow the water flow path through the filter system. Examine all pipes, joints, and valves for any signs of leakage.
-
Pond Liner: Carefully inspect the pond liner for tears, punctures, or any areas where it has come loose from the edges.
-
Waterfall or Stream: If your pond features a waterfall or stream, check the joints and connections where the water flows into and out of these elements.
-
Gravel or Rocks: Loose gravel or rocks in the pond can damage the liner, leading to leaks.
-
Vegetation: Roots from surrounding plants can sometimes penetrate the pond liner, creating leaks.
Temporary Leak Patching Techniques
In some cases, temporary measures may be necessary to halt the leak temporarily while you prepare for a permanent repair.
-
Flex Seal or Pond Patch: These liquid sealants can be applied to small leaks in the liner, forming a flexible, waterproof barrier.
-
Duct Tape: Covering the leak with duct tape can also provide a temporary barrier until a more permanent solution is implemented.
-
Rubber Patch: A small piece of rubber can be cut and placed over the leak, held in place with a clamp or weight.
Permanent Leak Repair Solutions
Once the leak source has been identified, it is time to implement a permanent repair solution:
-
Patching the Liner: For small tears or punctures in the liner, a specialized pond liner repair kit can be used to create a durable patch.
-
Replacing the Liner: If the liner has sustained significant damage, it may need to be replaced entirely.
-
Sealing Joints and Connections: Inspect all joints and connections for any gaps or leaks. Apply a silicone sealant or caulk to seal them effectively.
-
Pump or Filter Repairs: If the leak originates from the pump or filter, it may need to be repaired or replaced.
-
Waterproofing the Waterfall or Stream: Use a waterproof sealant or liner to reinforce the joints and connections of the waterfall or stream.
-
Protecting the Liner from Rocks and Gravel: Surround the liner with a layer of protective material such as sand or filter fabric to prevent damage from sharp objects.
-
Managing Vegetation: Trim any vegetation near the pond to prevent roots from damaging the liner.

Image: www.thepondguy.com
Additional Troubleshooting Tips
-
Use a Dye Test: Adding a non-toxic dye to the water can help visualize the water flow and identify hidden leaks.
-
Check the Water Level: Monitor the water level regularly to detect any gradual dropping, indicating a potential leak.
-
Listen for Trickling Sounds: Be attentive to any trickling or dripping sounds around the pond, which could indicate a leak.
-
Inspect the Soil Around the Pond: Damp soil or standing water near the pond can suggest a leak.
How To Fix A Leaking Pond
Conclusion
A leaking pond can be a frustrating problem, but it’s one that can be addressed with the right approach. By following the step-by-step instructions and troubleshooting tips outlined in this guide, you can effectively identify and repair the leak, restoring your pond to its former glory and ensuring its continued enjoyment for years to come. Remember, patience and attention to detail are key in diagnosing and resolving pond leaks effectively.


