
Gain in-depth insights into How To Get Rid Of Green Screen In After Effects, may the information we provide be beneficial for you.
How to Effortlessly Remove the Green Screen in After Effects
In the realm of visual storytelling, green screens play a pivotal role in seamlessly integrating live-action footage with dynamic backgrounds and digital environments. However, the presence of the green screen can often be distracting, diminishing the overall immersion of your visual masterpiece. Fortunately, with the power of Adobe After Effects, mastering the art of green screen removal is within your grasp. In this comprehensive guide, we’ll delve into the intricacies of this technique, equipping you with the skills to effortlessly eliminate the green screen, unlocking a world of cinematic possibilities.
Keyframe Tracking: The Foundation of Precision
Embarking on our journey, we begin with keyframe tracking, the cornerstone of green screen removal in After Effects. This technique allows you to precisely map the movement of the subject in your shot, ensuring that the background seamlessly follows their motion. With each click of the mouse, you create a keyframe, establishing the position of your subject at specific points in time. By connecting these keyframes with a smooth curve, you create a path that defines the subject’s movement throughout the shot, ultimately allowing the background to conform accordingly.
Color Keying: Separating the Subject from the Screen
With the subject’s movement meticulously tracked, we can now shift our focus to color keying, the process of isolating the subject from the green screen. After Effects provides a comprehensive suite of color keying tools, empowering you to precisely define the range of green values that constitute the screen. By selecting the appropriate color keying method, you can create a matte, a grayscale image that isolates the subject, allowing you to replace the green screen with your desired background.
Matte Refinement: Ensuring Seamless Transitions
Once you have a clean matte, it’s time to refine its edges, ensuring seamless transitions between the subject and the background. Feathering, a technique that gradually blends the edges of the matte, plays a crucial role here. By adjusting the feather radius, you can control the softness of the transition, minimizing any visible artifacts and creating a believable composite. Additionally, you can utilize masks to further refine the matte, allowing you to isolate specific areas of the subject or background for targeted adjustments.
Color Correction and Grading: Enhancing Visual Appeal
With the green screen successfully removed, it’s time to fine-tune the color balance and grading, ensuring that the subject and background seamlessly blend together. After Effects offers an array of color correction tools, allowing you to adjust the brightness, contrast, saturation, and hue of your footage. By matching the color temperature and tones of the subject and background, you can create a cohesive and visually appealing composite that captivates your audience.
Tips and Expert Advice for Flawless Green Screen Removal
To further enhance your green screen removal prowess, heed these invaluable tips from seasoned professionals:
- Use a well-lit green screen: Proper lighting is essential for effective keying. Ensure your green screen is evenly lit, avoiding shadows and uneven color distribution.
- Choose the right color keying method: Experiment with different color keying methods, such as Keylight and Ultra Key, to find the one that best suits your footage.
- Refine your matte: Pay meticulous attention to refining your matte, using feathering and masks to achieve seamless transitions.
- Color correct and grade: Fine-tune the color balance and grading to create a cohesive and visually appealing composite.
- Practice makes perfect: The key to mastering green screen removal is practice. Experiment with different footage and settings until you achieve effortless results.
FAQ: Your Questions Answered
Let’s address some commonly asked questions regarding green screen removal in After Effects:
- Q: What is the best way to track a moving subject?
A: Keyframe tracking is the most effective method for tracking moving subjects in After Effects.
- Q: How do I choose the right color keying method?
A: The best color keying method depends on the footage you’re working with. Experiment with different methods to find the one that produces the cleanest matte.
- Q: What is the purpose of feathering?
A: Feathering helps to blend the edges of the matte, minimizing visible artifacts and creating a seamless transition between the subject and background.
- Q: How do I fix color differences between the subject and background?
A: Color correction and grading tools in After Effects allow you to adjust the color balance and tones of your footage, ensuring a cohesive and visually appealing composite.
Conclusion
By embracing the techniques outlined in this comprehensive guide, you’ll become a master of green screen removal in After Effects. With practice and dedication, you’ll be able to seamlessly integrate live-action footage with any background, creating visually stunning effects that captivate and entertain your audience. So, are you ready to unlock the secrets of green screen removal and embark on a journey of cinematic excellence? Let your creativity take flight and leave the green screen behind.
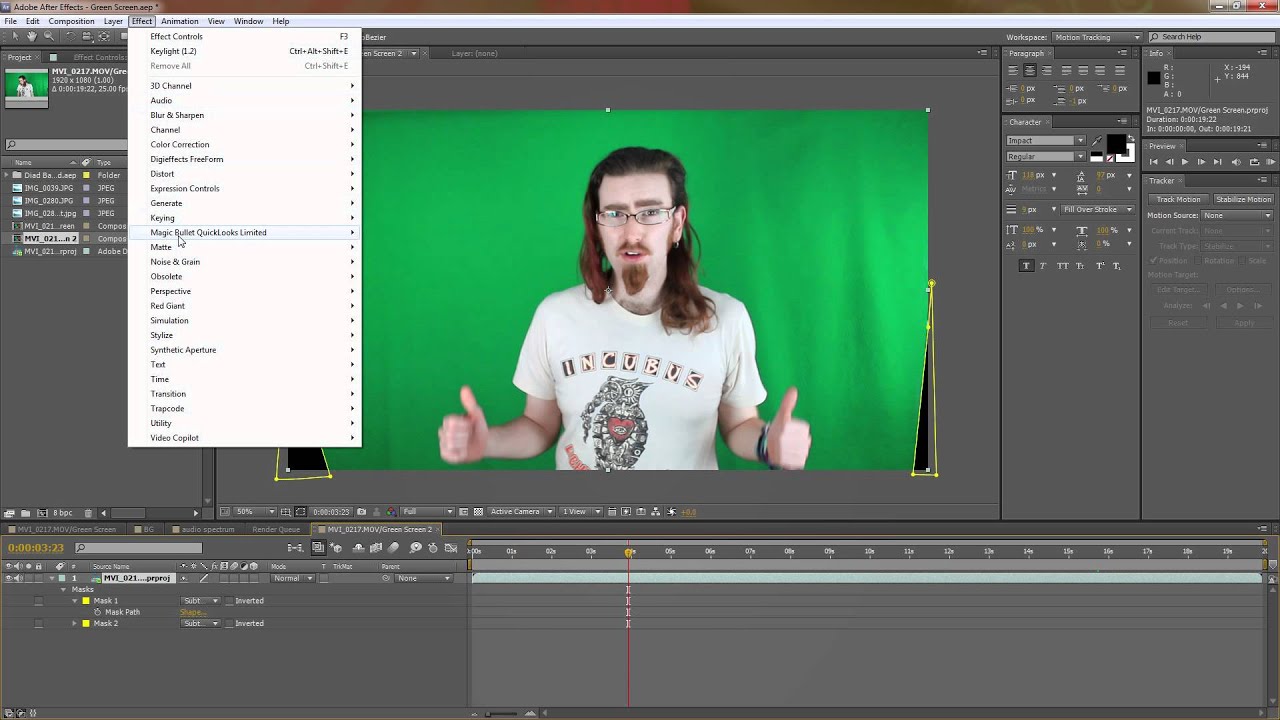
Image: www.youtube.com
An article about How To Get Rid Of Green Screen In After Effects has been read by you. Thank you for visiting our website, and we hope this article is beneficial.


