
The latest information about How To Slow Down A Clip In Premiere Pro that you need can be found in this article, all of which we have summarized well.
How to Slow Down a Clip in Premiere Pro: A Comprehensive Guide
Have you ever found yourself with a video clip that was a little too fast for your liking? Maybe it was a sports clip where the action was happening too quickly, or a travel video where the scenery was whizzing by? Whatever the case may be, being able to slow down a clip can be extremely useful in many video editing scenarios.
In this comprehensive guide, we’ll show you how to slow down a clip in Premiere Pro using a variety of techniques. We’ll start with the basics and then move on to more advanced techniques, such as using time remapping and creating slow-motion effects.
Understanding Time Manipulation in Premiere Pro
Before we dive into the specifics of slowing down a clip, let’s take a quick look at how Premiere Pro handles time manipulation.
In Premiere Pro, time is measured in frames per second (FPS). The FPS of a clip determines how many individual images, or frames, are displayed each second. A higher FPS will result in a smoother, more fluid video, while a lower FPS will create a more choppy, staccato effect.
When you slow down a clip, you are effectively increasing the amount of time that each frame is displayed. This has the effect of making the action in the clip appear to slow down.
There are two main ways to slow down a clip in Premiere Pro:
– Time stretching
– Time remapping
Time Stretching
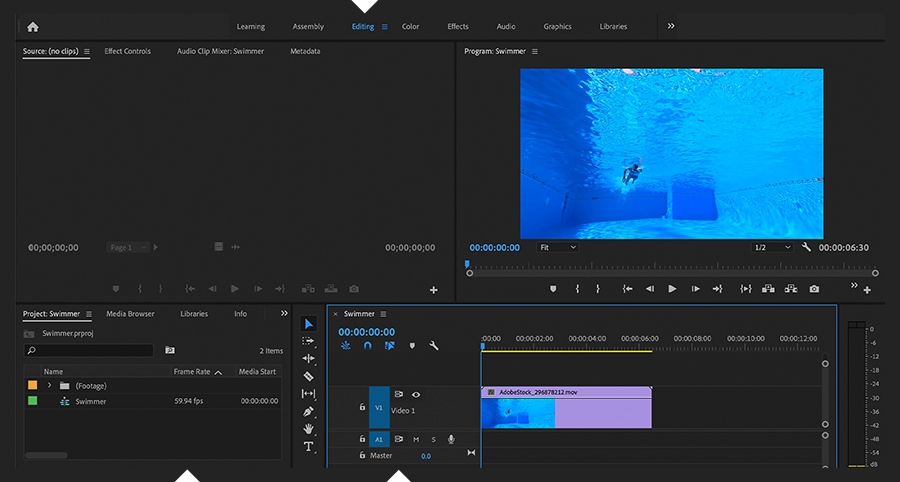
Time stretching is the simplest way to slow down a clip in Premiere Pro. It involves simply changing the speed of the clip, which in turn changes the FPS. To time stretch a clip, select it in the Timeline and then click on the “Speed/Duration” button in the Effect Controls panel. In the Speed/Duration dialog box, you can adjust the speed of the clip by entering a percentage value. A value of 50% will slow down the clip by half, while a value of 200% will speed it up by double.
Time stretching is a quick and easy way to slow down a clip, but it does have some limitations.
- Firstly, time stretching can only be used to slow down or speed up a clip by a fixed amount.
- Secondly, time stretching can cause the audio in the clip to become distorted.
Time Remapping
Time remapping is a more advanced technique for slowing down a clip in Premiere Pro. It allows you to control the speed of the clip over time, creating more complex slow-motion effects. To time remap a clip, select it in the Timeline and then click on the “Time Remapping” button in the Effect Controls panel. In the Time Remapping dialog box, you can create a custom speed curve for the clip. This curve determines how the speed of the clip changes over time.
Time remapping is a more flexible technique than time stretching, but it can also be more time-consuming. However, it is the best way to create complex slow-motion effects.
Tips and Expert Advice
Here are a few tips and expert advice for slowing down a clip in Premiere Pro:
- When time stretching a clip, experiment with different speed values to find the one that looks best.
- If you’re using time remapping, create a custom speed curve that gradually slows down the clip over time.
- Be careful not to slow down the clip too much, or it will become difficult to watch.
- If you’re slowing down a clip that has audio, consider using the “Audio Time Stretch” effect to prevent the audio from becoming distorted.
Frequently Asked Questions
Here are some of the most frequently asked questions about slowing down a clip in Premiere Pro:
- Q: How do I slow down a clip in Premiere Pro?
- Q: What’s the difference between time stretching and time remapping?
- Q: How do I create a slow-motion effect in Premiere Pro?
- Q: Can I slow down a clip without changing the audio?
A: You can slow down a clip in Premiere Pro using either time stretching or time remapping.
A: Time stretching is a simple way to slow down a clip by a fixed amount, while time remapping allows you to control the speed of the clip over time.
A: To create a slow-motion effect in Premiere Pro, use the time remapping tool to create a custom speed curve that gradually slows down the clip over time.
A: Yes, you can use the “Audio Time Stretch” effect to prevent the audio from becoming distorted when you slow down a clip.
Conclusion
Slowing down a clip can be a very useful technique for video editors. By using the techniques described in this article, you can create slow-motion effects, control the pacing of your videos, and add a touch of creativity to your projects.
We hope you found this guide helpful. If you have any questions, please don’t hesitate to ask in the comments below.
Are you interested in learning more about video editing? Check out our other blog posts for more tips and tutorials.
Image: www.premiumbeat.com
You have read an article about How To Slow Down A Clip In Premiere Pro. We express our gratitude for your visit, and we hope this article is beneficial for you.


