
Introduction
Vans, with their iconic checkerboard pattern and timeless silhouette, have become an essential fashion statement for millions worldwide. But even the most durable shoes can succumb to the dreaded sole separation, leaving you wondering if your favorite kicks are destined for the trash. Don’t despair! Repairing Vans sole separation is not as daunting as it may seem, and with the right materials and a bit of patience, you can restore your beloved shoes to their former glory.

Image: www.youtube.com
Identifying and Understanding Sole Separation
Sole separation occurs when the bond between the upper (the part of the shoe that covers your foot) and the outsole (the bottom part of the shoe that touches the ground) fails. This can happen due to various reasons, such as wear and tear, exposure to extreme temperatures or moisture, or manufacturing defects.
Materials You’ll Need
To fix Vans sole separation, you’ll need the following materials:
- Barge Cement: A strong adhesive specially designed for bonding rubber and leather.
- Clean Cloth: To wipe away any dirt or debris from the shoe.
- Clamps or Heavy Objects: To apply pressure during the drying process.
- Toothbrush or Stiff Brush: To remove excess cement.
Step-by-Step Repair Instructions
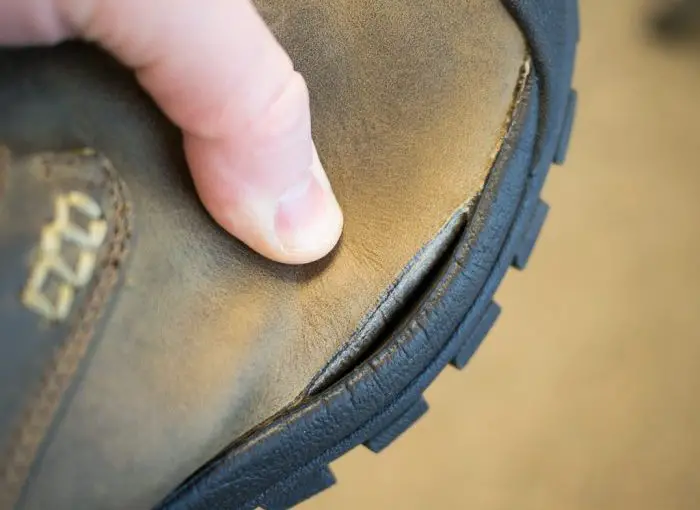
Image: bestproductreviewscenter.com
Step 1: Clean the Surfaces
Use the clean cloth to wipe away any dirt, dust, or debris from both the upper and the outsole. This step is crucial to ensure a strong bond between the two surfaces.
Step 2: Apply Barge Cement
Apply a thin layer of Barge Cement to both the upper and the outsole, using the brush to spread it evenly. Allow the cement to dry slightly until it becomes tacky.
Step 3: Align and Reattach
Align the upper and the outsole carefully and press them together. Apply firm pressure for several minutes to ensure the surfaces are securely bonded.
Step 4: Clamp or Weight Down
If possible, use clamps or place the shoes under heavy objects to apply additional pressure during the drying process. Leave the shoes undisturbed for at least 24 hours.
Step 5: Remove Excess Cement
Once the cement has completely dried, use the stiff brush or toothbrush to remove any excess cement that may have squeezed out during the bonding process.
Additional Tips
- If the sole separation is extensive, you may need to use a sewing machine to reinforce the bond.
- For added durability, consider applying a layer of shoe sealant or leather protector around the repaired area.
- Avoid wearing the repaired shoes immediately after drying. Allow them to rest for a few additional days to ensure a strong and long-lasting repair.
How To Fix Vans Sole Separation
Conclusion
Restoring your Vans to their original condition is a rewarding experience that can save you money and extend the life of your favorite shoes. By following these simple steps, you can confidently tackle Vans sole separation and reclaim your stylish stride. Remember, a well-repaired pair of Vans is a testament to your own hands-on skills and a celebration of the timeless classic that has conquered generations.


